Building an Innovative Smart Plant Monitoring System with Arduino
- STEM-ulate
- 5 days ago
- 4 min read
Imagine a system that not only monitors the needs of your plants but also offers real-time feedback. That's where creating a smart plant monitoring system with Arduino technology comes in. This guide will walk you through the steps needed to build a personalized system to efficiently care for your plants.
Understanding Plant Requirements
For plants to flourish, they need specific conditions: adequate moisture, the right light intensity, suitable temperatures, and optimal humidity levels. Recognizing these factors is the first step toward creating an effective smart plant monitoring system.
Instead of guessing, using sensors can help gather data on plant conditions. For instance, studies have shown that plants grow 30% better with the right moisture levels. With a monitoring system in place, you can ensure these needs are met, leading to healthier and more productive plants.
Essential Components Needed
To construct your smart plant monitoring system, you'll need several essential components. Here’s a basic list to get you started:
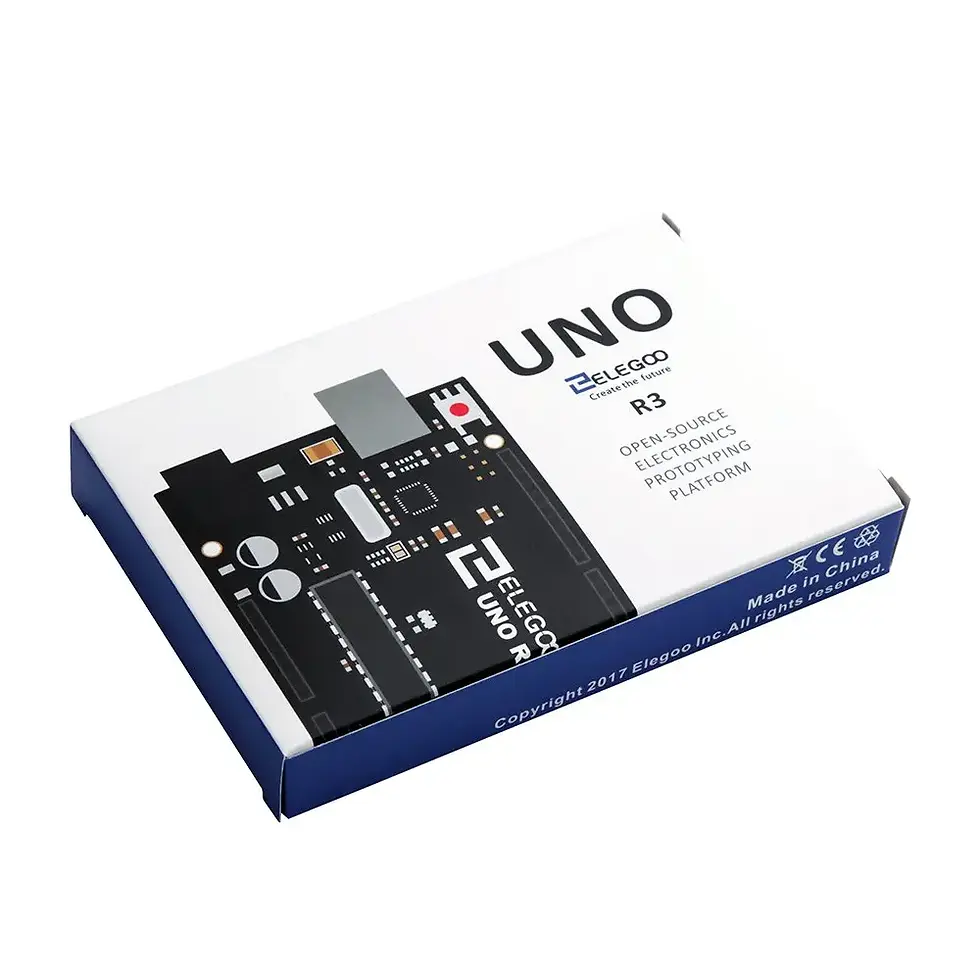
Arduino Board (e.g., Arduino Uno): The central control unit.
Soil Moisture Sensor: Measures soil moisture levels.
Light Sensor (LDR): Monitors light intensity.
Temperature and Humidity Sensor (DHT11/DHT22): Tracks environmental conditions.
Wi-Fi Module (ESP8266): Enables data transmission, making your system IoT capable.
Buzzer: Emits alerts when necessary.
LCD Display: Showcases real-time data.
Breadboard and Jumper Wires: Used to construct the circuit.
Setting Up Your Arduino
Before you begin constructing your monitoring system, setting up your Arduino board is essential. Start by downloading the Arduino IDE from the official website.
Once installed, connect your Arduino board to your computer using a USB cable. Ensure you have selected the correct board and port within the IDE. With that done, you can start writing your code.
Coding Your Smart Plant Monitoring System
Next, you will program your Arduino to process data from your sensors. Here is a simple code snippet to get you started. Adjust it based on your components and configurations.
include <DHT.h>
define DHTPIN 2         // DHT sensor pin
define DHTTYPE DHT11    // DHT 11
DHT dht(DHTPIN, DHTTYPE);

int moistureSensorPin = A0;
int ldrPin = A1;

void setup() {
Serial.begin(9600);
dht.begin();
}

void loop() {
float h = dht.readHumidity();
float t = dht.readTemperature();
int moistureValue = analogRead(moistureSensorPin);
int lightValue = analogRead(ldrPin);
Serial.print("Humidity: ");
Serial.print(h);
Serial.print(" %\t");
Serial.print("Temperature: ");
Serial.print(t);
Serial.print(" °C\t");
Serial.print("Soil Moisture: ");
Serial.print(moistureValue);
Serial.print("\tLight Level: ");
Serial.println(lightValue);

delay(2000);

}
This code initializes the sensors and reports readings to the Serial Monitor. This helps you check the values in real time and troubleshoot if any issues arise.
Connecting the Sensors
With your code ready, it's time to connect the sensors to the Arduino. Here’s how to do that:
Soil Moisture Sensor: Connect VCC to 5V, GND to GND, and analog output to A0.
Light Sensor: Connect VCC to 5V, GND to GND, and the signal to A1.
DHT Sensor: Connect VCC to 5V, GND to GND, and the data pin to D2.
Make sure all connections are secure to prevent interruptions during operation.
Testing Your System
After setting up the sensors, upload the code to your Arduino using the IDE. Open the Serial Monitor to view real-time readings, which is essential for assessing the functionality of your sensors.
You will see readings for humidity, temperature, soil moisture, and light levels. If any values seem incorrect, double-check your wiring and code for discrepancies.
Adding Internet Connectivity
To elevate your monitoring system, consider adding Internet connectivity with the ESP8266 module. This allows for remote access to your plant data.
You’ll need to integrate libraries like `ESP8266WiFi.h` and use the HTTP protocol to send data to a cloud service or database. This way, you can monitor your plants from virtually anywhere.
Enhancing User Interaction
To improve user experience, you can add a buzzer that alerts you when the plant needs attention. For instance, if soil moisture drops below 30%, the buzzer will sound, prompting you to water your plant.
In addition, using an LCD display provides visible feedback, showing real-time data directly without requiring a computer or smartphone.
Making the System More Intelligent
Once your basic monitoring setup is operational, you could enhance it further by introducing features like automated watering or machine learning.
For automated watering, use a relay module connected to a water pump. Activate the pump based on moisture readings to ensure your plants receive the right amount of water.
Studies show that automated systems can reduce water usage by 30% while keeping plants healthier.
Final Touches
To complete your project, enclose your Arduino and components in a protective housing. This protects your electronics and adds aesthetic appeal to your monitoring system.
Consider adding LED indicators to signal when your system is running smoothly or if there are alerts. This fun touch enhances both functionality and engagement with the project.

Wrapping It Up
Building a smart plant monitoring system using Arduino technology is not only an engaging project but also a valuable learning experience. With the right sensors and setup, you can effortlessly monitor and nurture your plants.
From collecting vital data to integrating IoT capabilities, this project is adaptable for any plant enthusiast. By investing time into creating your unique system, you'll enhance your gardening skills while promoting a thriving environment for your plants. So gather your materials and embark on your smart gardening journey!


Comments